
Introduction
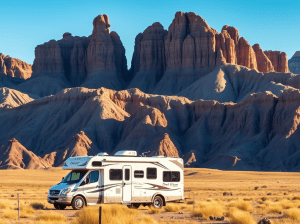
So, you’ve just rolled into your campsite with your RV, and you’re ready to settle in. But now what? Setting up your RV might seem a bit intimidating at first, but with the right knowledge, it’s actually pretty simple. Whether you’re in a towable RV or a drivable motorhome, getting all your hookups sorted—water, electricity, and sewer—can be done quickly and easily. In this guide, we’ll walk you through the process in a friendly, no-nonsense way, give you some troubleshooting tips, and suggest a few products to make everything smoother. Let’s get you camping in comfort!
Disclosure:
This post contains affiliate links. If you purchase through these links, we may earn a small commission at no extra cost to you. Thank you for supporting our blog and helping us bring you great content!
Towable RV vs. Drivable RV: What’s the Difference?
Before we dive into the setup steps, let’s talk about the two main types of RVs you might be dealing with: towable RVs and drivable RVs. Knowing the difference will help you understand the steps you need to take when you arrive at the campsite.
- Towable RVs: These are RVs that you tow behind a separate vehicle, like a truck or SUV. This includes travel trailers, fifth-wheel trailers, and pop-up campers. Once you park, you’ll unhitch your RV from the tow vehicle and get it leveled and hooked up to utilities.
- Drivable RVs (Class A, Class B and Class C): Also known as motorhomes, drivable RVs are self-contained. You just drive them to the site and park them. There’s no need to unhook anything—just find a good spot, level the RV, and connect it to the water, electricity, and sewer.
Now that we’ve got that cleared up, let’s get to the good stuff: setting up your RV when you arrive at the campsite.
Step-by-Step Guide to Setting Up Your RV
1. Positioning and Leveling Your RV
First things first—let’s park your RV. Finding the right spot is key to making everything else go smoothly.
- For Towable RVs: Back up carefully into your campsite. Look out for trees, rocks, or other obstacles. It might help to have a friend or a spotter outside guiding you if you’re not comfortable with backing up.
- For Drivable RVs: Just drive it in and park it. Make sure you have enough space for your slide-outs (if your RV has them) and that you’re not blocking anything.
Once you’re in place, you need to make sure the RV is level. This step is important because it helps your fridge work properly and keeps things comfortable inside.
- For Towable RVs: Use leveling blocks, like the BAL Leveler, to lift your tires and get everything even. (Amazon affiliate link)
- For Drivable RVs: If you have an automatic leveling system, now’s the time to let it do its job. If not, grab some manual leveling blocks.
2. Unhitching (For Towable RVs)
If you’re in a towable RV, the next step is unhitching it from your tow vehicle:
- Disconnect the hitch: Unhook the safety chains, breakaway cable, and electrical plug. Then, lift the trailer tongue and unhook it from the hitch.
- Drive off carefully: Once your RV is unhitched, slowly drive your tow vehicle away. Make sure the RV is stable on its own.
3. Connecting to Water
Now let’s get some water running in your RV so you can wash your hands, cook, and enjoy a shower.
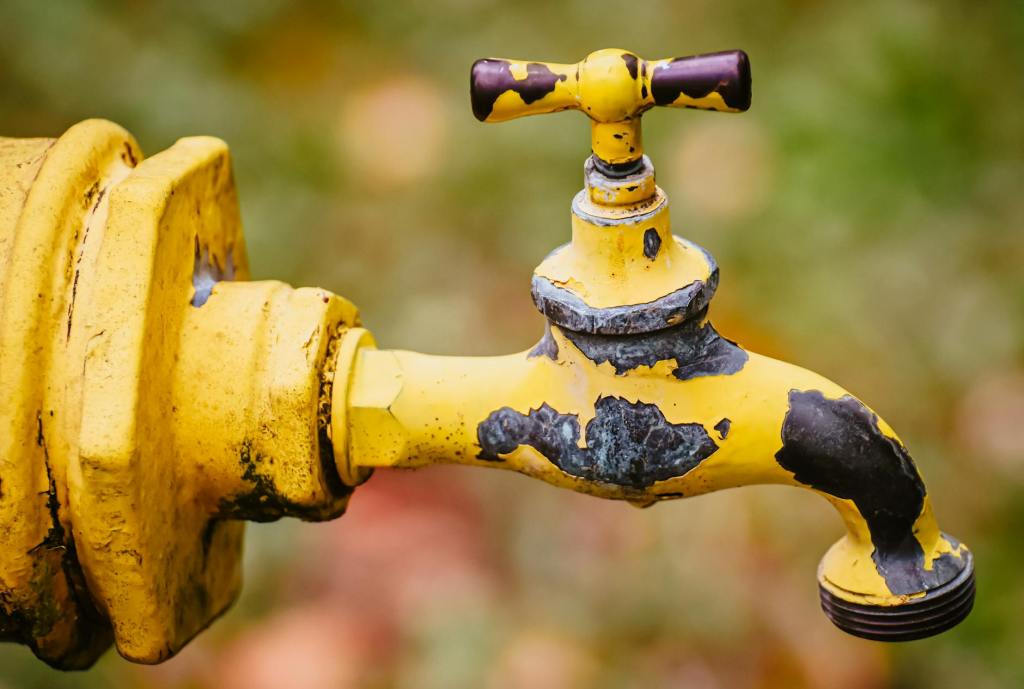
- Find the water spigot: Most campsites have a spigot near the electric pedestal. This is where you’ll hook up your water.
- Get the right hose: You’ll need a drinking-water-safe hose (also called a freshwater hose). Don’t use a regular garden hose! Something like the Camco Premium Drinking Water Hose will do the trick. (Amazon affiliate link)
- Connect the hose: Screw one end of the hose into the spigot and the other end into your RV’s water intake valve.
- Install a water pressure regulator: This is important! High water pressure can damage your RV’s plumbing. A product like the Camco Brass Water Pressure Regulator will help keep things safe and steady. (Amazon affiliate link)
4. Hooking Up to Electricity
Now it’s time to plug into the campsite’s power supply. This powers everything from lights to air conditioning, so let’s get it right.
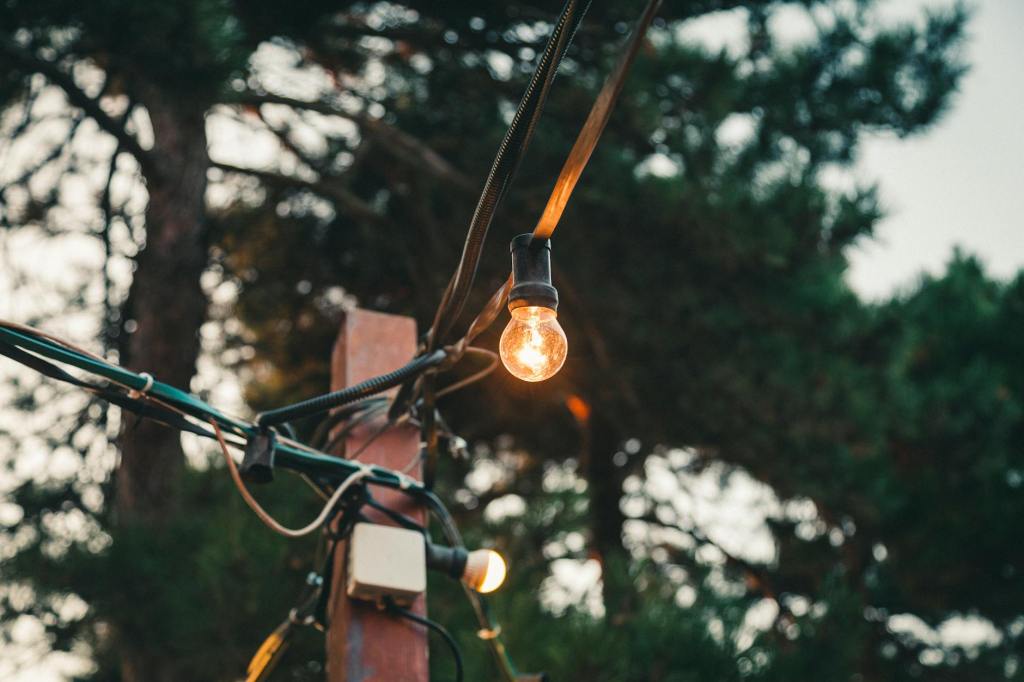
- Find the electric pedestal: This is the post where you’ll find the power hookups. It’s usually near the water spigot.
- Choose the right power cord: Depending on your RV, you’ll need either a 30-amp or 50-amp power cord. Towable RVs often use the 30-amp version, while larger motorhomes typically need a 50-amp cord. The Camco 30-Amp PowerGrip is a great option for a reliable connection. (Amazon affiliate link)
- Plug it in: Connect your RV’s power cord to the pedestal, then plug the other end into your RV.
- Add a surge protector: To protect your RV’s electrical system from surges, use a surge protector like the Progressive Industries EMS-PT30X. It’s a smart investment. (Amazon affiliate link)
5. Connecting to the Sewer System
Now for the less glamorous—but still essential—step: hooking up to the sewer.
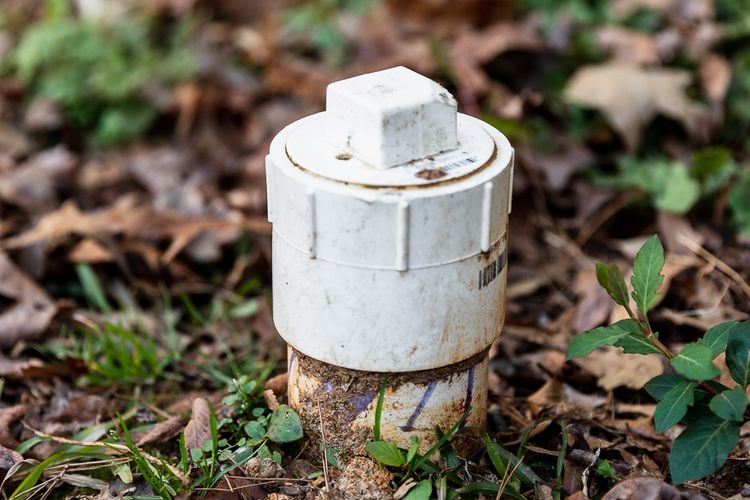
- Find the sewer connection: This is usually near the back of your site, where you’ll see a sewer drain.
- Grab your sewer hose: A sturdy sewer hose like the Camco RhinoFLEX Sewer Hose Kit is perfect for this job. Make sure it’s long enough to reach from your RV to the drain. (Amazon affiliate link)
- Connect the hose: Attach one end of the hose to your RV’s waste valve and the other end to the sewer drain at the campsite.
- Dump your tanks: Start with the black tank (the one that collects toilet waste) and then dump the gray tank(wastewater from your sinks and shower). Always follow campsite rules about waste disposal.
6. Extra Comfort and Safety Tips
While you’re getting everything set up, don’t forget about the small touches that make your campsite feel like home:
- Set up your awning: If your RV has an awning, extend it for some shade and protection from the rain.
- Arrange outdoor furniture: Put out some chairs and a table so you can enjoy your outdoor space.
- Check your tires: Before you get too comfortable, make sure your RV’s tires are properly inflated.
- Test everything: Turn on the water, check the power, and make sure the sewer is draining properly before you settle in.
Common Problems and How to Fix Them
- Water pressure is too high or too low: If your water pressure is acting up, try using a water pressure regulator to keep things under control.
- Electrical issues: If you’re not getting power, check both the campsite’s electrical panel and your RV’s breakers. If there’s a surge, a surge protector will help protect your RV.
- Sewer hose leaks: If your sewer hose is leaking, replace it immediately. Make sure the connections are tight and that the hose isn’t cracked.
Conclusion
Setting up your RV at a campsite doesn’t have to be stressful or confusing. By following these simple steps and using the right products, you can easily hook up your water, electricity, and sewer systems. Whether you’re in a towable RV or a drivable motorhome, you’ll be able to get your campsite ready in no time. With a little practice, you’ll be a pro at setting up your RV and making the most of your outdoor adventures. Happy camping!
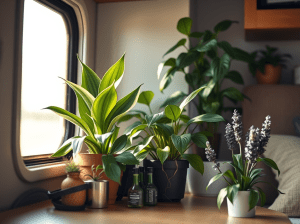
- Small but Mighty: Best Houseplants for Cleaner Air & Better Focus in Your RV
- Best National Parks for RVing in the Midwest
- The Famous Trees of Florida Road Trip: 11 Can’t-Miss Natural Wonders for Your RV Adventure

- How to Replace the Screen on Your RV Screen Door
- Best National Parks for RVing in the South


Leave a comment